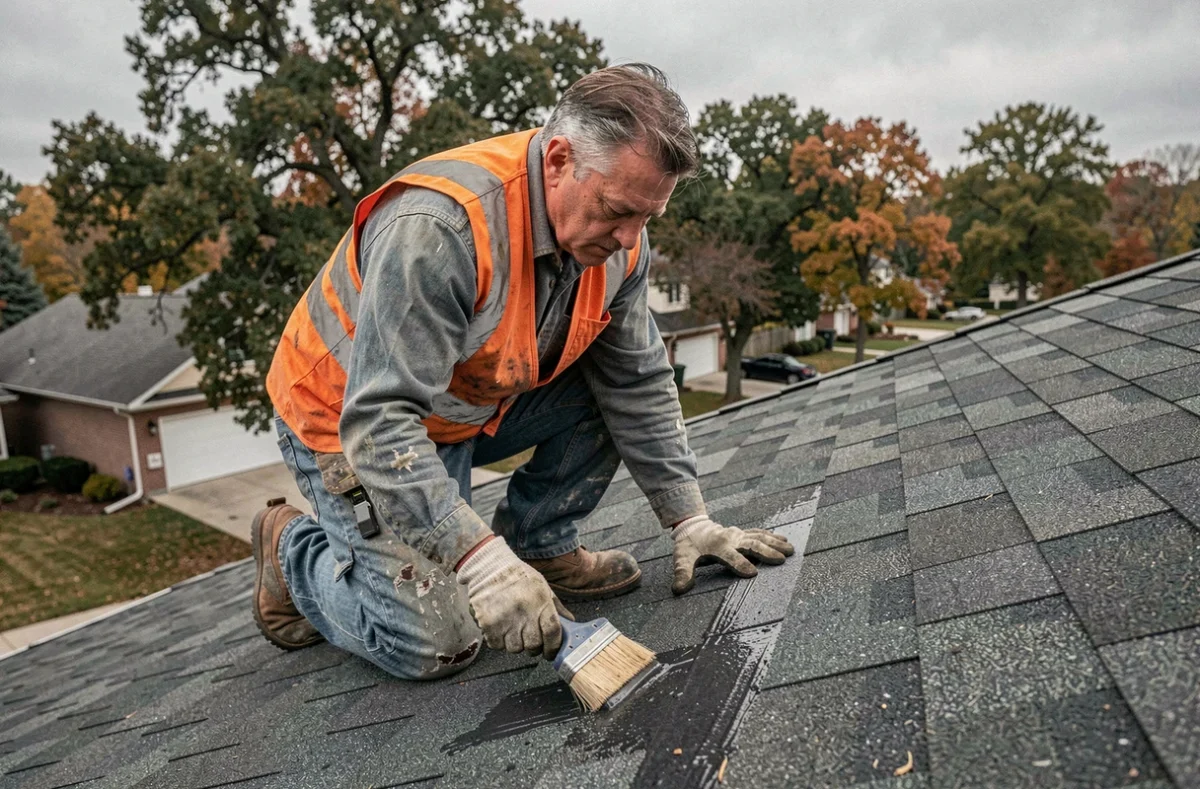
On a a covered shingle roof, the first leak rarely comes as a surprise. You first notice a blister, a shingle that lifts at the edge, or a damp spot on the ceiling after a prolonged rainy period. Waterproofing a shingle roof is not just about spraying a product on the covering: the durability of the treatment depends on the substrate, ventilation, and preparation well before choosing the water repellent.
Slope and rigid substrate: the two prerequisites that the water repellent does not correct
Homeowners often apply a bituminous resin on a shingle laid at a low slope, hoping to solve an infiltration problem. The result lasts a few months, then water stagnates again under the shingles.
According to the technical guidelines relayed by Polymars, a shingle must rest on a continuous, flat, and rigid substrate, and a minimum slope of about 20% is generally required for water to drain properly. Below this threshold, no surface treatment compensates for stagnation.
Before purchasing any product, two things are checked: the flatness of the sheathing or particle board under the shingles, and the actual slope measured at level. If the substrate has dips or bulges, water remains trapped between the shingle and the wood, accelerating the detachment of the heat-sealing strips. To delve deeper into this point and discover the guides on Conseils Habitat, the issue of the substrate deserves to be addressed before that of the product.
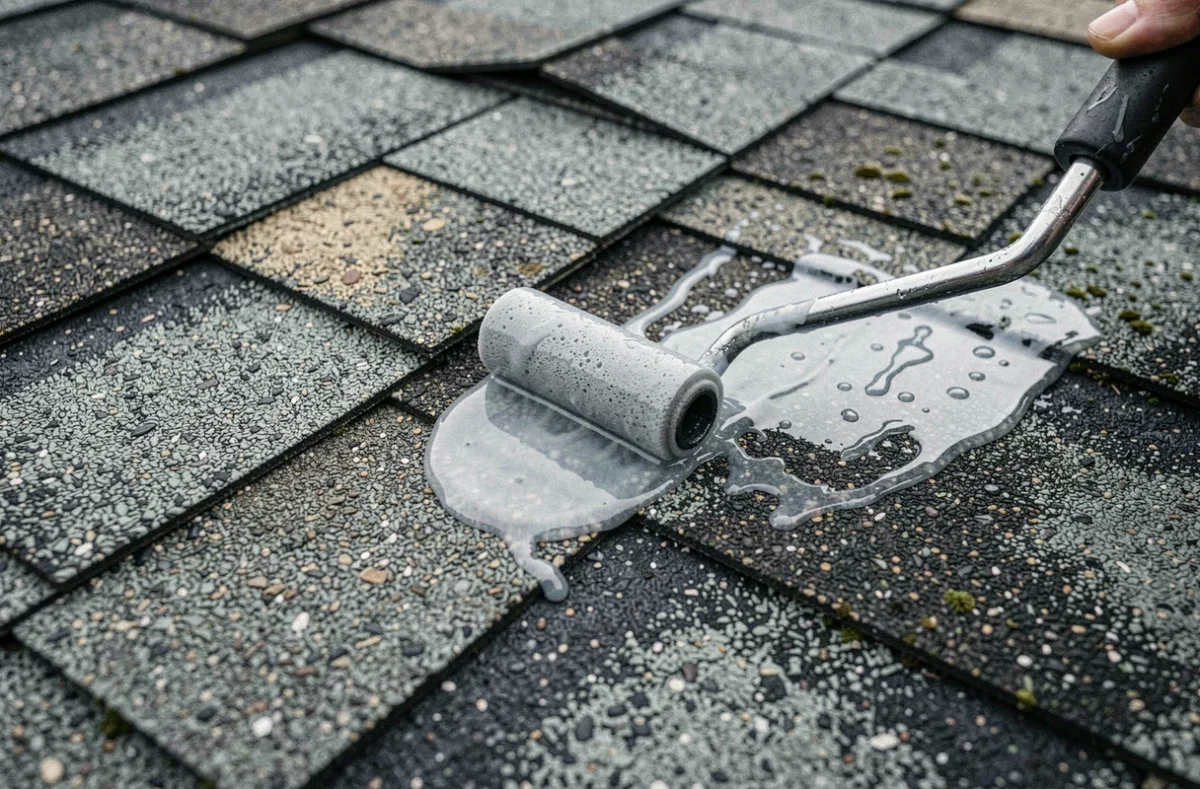
Ventilation under shingle roofing: the underestimated aging factor
A bituminous shingle heated by the sun in summer can reach high surface temperatures. Without air circulation between the substrate and the insulation, this accumulated heat softens the bitumen, deforms the shingles, and causes their premature detachment.
Continuous ventilation between low entries and high exits limits condensation and overheating of the substrate. CouvrAppy details this principle in its guidelines: the air gap must remain clear from the eaves to the ridge. Insulation that rises too high and blocks the air exit at the ridge negates all the benefits of the system.
On the ground, feedback varies on this point, as each configuration of framing and insulation requires adaptations. Three concrete checks are retained:
- Are the ventilation grills at the bottom of the slope (underside of the overhang) clear and not obstructed by paint or debris?
- Does the ridge have a ventilated closure or a functional vent?
- Does the insulation leave a free space of at least a few centimeters under the sheathing?
If any of these conditions are not met, waterproofing the surface without restoring ventilation amounts to trapping moisture rather than preventing it from entering.
Underlayment for shingles: when it changes the game
The underlayment is not systematically required in all roofing configurations. However, it becomes a determining element in several common situations on shingle roofs.
Cases where its installation is necessary include sites highly exposed to wind, low slopes, converted attics, and certain climatic zones with heavy rainfall. In these configurations, the HPV (highly permeable to water vapor) underlayment acts as a safety net under the shingles: even if a shingle lifts or cracks, water does not reach the wooden substrate.
Installing an HPV underlayment under the shingle protects the sheathing even in the event of damaged shingles. It is an investment that is especially justified when planning to keep the covering for its entire lifespan, without heavy intermediate intervention.
Water repellent treatment on bituminous shingles: preparation and field application
Once the structural conditions are met (correct slope, flat substrate, functional ventilation), the surface treatment makes complete sense. On a shingle in generally good but aging condition, a suitable water repellent extends water resistance for several years.
Cleaning the shingle before treatment
Start by removing moss, lichens, and black deposits with a soft brush or low-pressure cleaner. A high-pressure cleaner used too close can strip the mineral granules that protect the bitumen from UV rays. The projection distance and pressure should remain moderate.
Then allow the covering to dry completely, which requires at least two days without rain. Applying a water repellent on a damp substrate dilutes the product on the surface and compromises penetration.
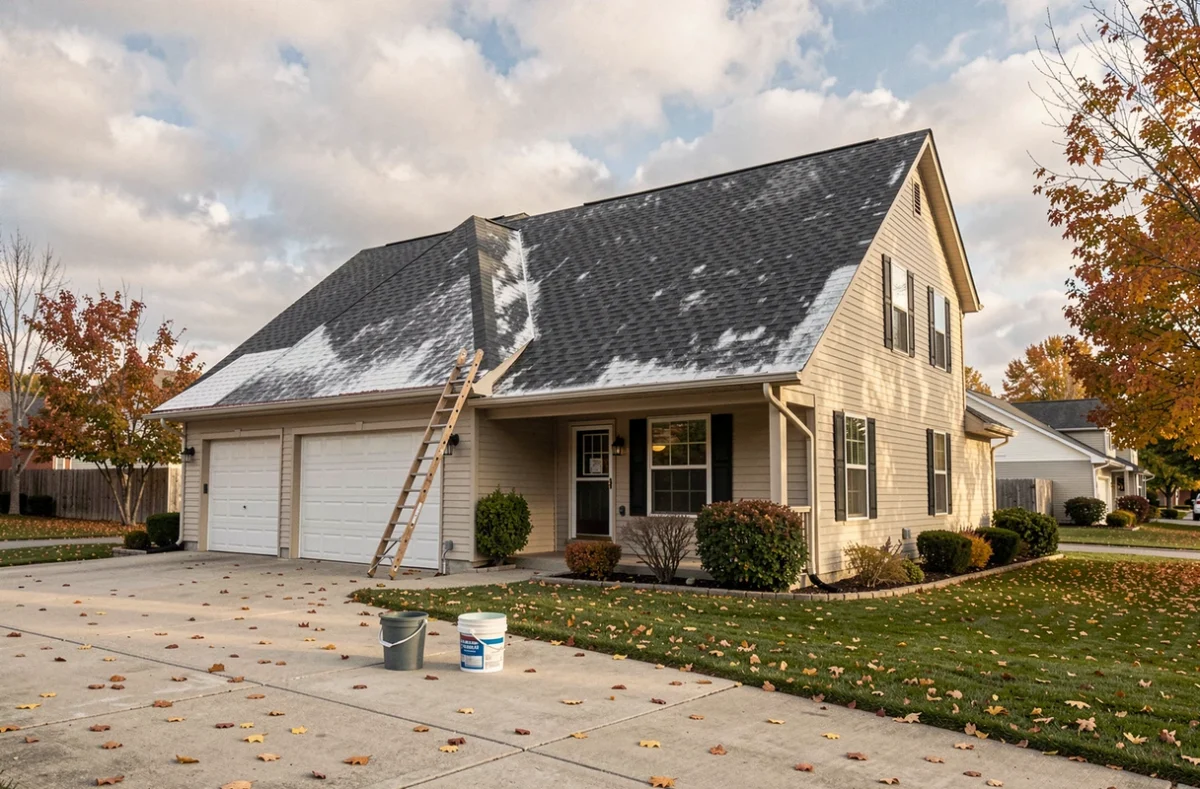
Choosing the water repellent product for shingle roofing
On a bituminous shingle, avoid rigid film-forming water repellents designed for clay tiles. The shingle expands and contracts with heat, and a hard film eventually cracks. Prefer a flexible product compatible with bituminous substrates.
- Check the technical data sheet to ensure the product explicitly mentions bituminous substrates or asphalt shingles
- Prefer a breathable water repellent rather than a film-forming one, to allow water vapor to escape from the substrate
- Apply in two crossed coats, the second after the first has completely dried
- Intervene in spring or autumn, in dry weather and mild temperatures, to avoid too rapid or too slow drying
Points of caution during application
The critical areas are at the valleys, edges, and around penetrations (chimneys, ventilation exits). Emphasize these joints with an additional layer or dedicated flexible bituminous sealant. Infiltrations on a shingle almost always begin at singular points, not in the middle of the slope.
A well-executed water repellent treatment on a structurally sound and properly ventilated shingle lasts several years before a refresh is necessary. The most common mistake is treating the surface without checking what is happening underneath: degraded substrate, obstructed ventilation, or insufficient slope. Correcting these points before taking out the sprayer makes all the difference between lasting protection and a band-aid that gives way in the first winter.